
Dodenburg
Live drawings from the Eifel
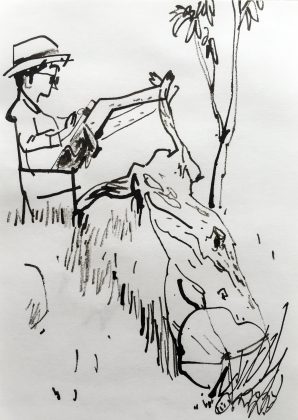

fig. 2a

fig. 2b

fig. 2c

fig. 2d

fig. 2e

fig. 2f

fig. 2g

fig. 2h

fig. 2i

fig. 2j
-
 T.E.A.R.S. CrewQuick takes on the characters of rocketbeans.tv's first role-play series.
 -
 Sexy Things 3Creating teaching material on Sexually Transmittable Infections
 -
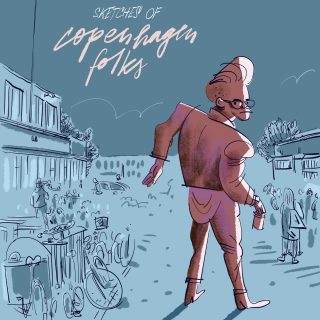 Live drawings from traveling here and therePeople having Aperol Spritz in Italy, people having coffee in Lithuania, people strolling along in Norway.
 -
 GrenzwertigIllustrations for the human rights magazine's cultural section
 -
 Classic drawingsA collection of rather traditional drawing styles